Activities and fun with Children of All Ages.

Posts tagged ‘grandchildren’

Time is of the Essence

I spent last week with my daughters and grands in Colorado.  What a week!  DD2 and granddog, Fry, took us on a hike in the Cheyenne mountains.ImageImageImage

We spent the rest of the week helping DD1 and her family move from a very small apartment to a very nice home.  DH still has sore muscles from all the heavy lifting and hard work.  He and E., grand1, worked together to be sure the swing set is safe to play on, Image

and she helped paint the new dining room.

Image

N, grandkid2, is 5 months old now.  He is bright eyed, bushy tailed and ready to soar!

Image

Image

My own Baby (my dog) had a good time as well, hiking and playing with the grands.

Image

Image

What have you been up to?  What kind of fun things are you planning?

A Fishy Situation

My DD and I went fishing today.  What fun, even if the biggest fish caught was about 1.5 inches in length.  This trip reminded me of all the times we took our girls fishing as they were growing up like the time DD and I were helping our oldest pull a fish out of the lake while keeping a close eye on the younger sitting on the grass.  Next thing we know someone is saying “Oh gross!” just when the younger daughter is slurping a worm into her mouth.  Ah… good times.

Fishing is a wonderful activity for most ages.  You might want to wait to take the grands until they are at least three or four.  There are pint sized rods for just such occasions.  Though their attention span is short, they can also catch crawdads, throw rocks in the water (don’t expect to catch any fish yourself), play in the dirt or water or what ever is around.

There is nothing more wonderful than seeing these things through the eyes of a child.  Today as I was walking around I met a beautiful 4.5 year old little girl on a fishing trip with her grandparents.  This was the first time she had been camping or fishing.  She was very busy putting rocks into a circle to make a fire ring that soon became a fairy ring.  She told me all about the bugs she catches to give her grandma’s chickens and we took pictures together.  Today she saw an osprey catch a fish and an eagle take it away from him.  Her grandpa caught a big fish and shared his knowledge on techniques with us.  She watched her dog chase chipmunks and dragon flies.  This is a day she will remember.

Image

Image

Image

Now We’re Cooking!

It’s been a hot, hot summer so far!  Wednesday, when I picked up my dog from the vet, it was 116 degrees!  This is the perfect weather for making a solar cooker with your grandchildren.  I found these directions on Home training tools with great explanations on the science happening.

Have fun and make some memories along with some hot dogs.

Build a Solar Oven

<<Solar & Alternative Energy Kits

You can use the sun’s energy to heat up a tasty treat with this simple solar oven! (Get an adult to help you with the cutting.)

Download our Solar Oven Recipes to get ideas for what to make with your solar oven.

Materials:

  • Cardboard pizza box (the kind delivered pizza comes in)
  • Box knife or scissors
  • Aluminum foil
  • Clear tape
  • Plastic wrap (a heavy-duty or freezer zip lock bag will also work)
  • Black construction paper
  • Newspapers
  • Ruler, or wooden spoon

What to Do: 
diy solar oven

  1. Use a box knife or sharp scissors to cut a flap in the lid of the pizza box. Cut along three sides, leaving about an inch between the sides of the flap and the edges of the lid. Fold this flap out so that it stands up when the box lid is closed.
  2. Cover the inner side of the flap with aluminum foil so that it will reflect rays from the sun. To do this, tightly wrap foil around the flap, then tape it to the back, or outer side of the flap.
  3. Use clear plastic wrap to create an airtight window for sunlight to enter into the box. Do this by opening the box and taping a double layer of plastic wrap over the opening you made when you cut the flap in the lid. Leave about an inch of plastic overlap around the sides and tape each side down securely, sealing out air. If you use a plastic bag, cut out a square big enough to cover the opening, and tape one layer over the opening.
  4. Line the bottom of the box with black construction paper – black absorbs heat. The black surface is where your food will be set to cook.
  5. To insulate your oven so it holds in more heat, roll up sheets of newspaper and place them on the bottom of the box. Tape them down so that they form a border around the cooking area. The newspaper rolls should make it so that the lid can still close, but there is a seal inside of the box, so air cannot escape.
  6. The best hours to set up your solar oven are when the sun is high overhead – from 11 am to 3 pm. Take it outside to a sunny spot and adjust the flap until the most sunlight possible is reflecting off the aluminum foil and onto the plastic-covered window. Use a ruler to prop the flap at the right angle. You may want to angle the entire box by using a rolled up towel.
  7. You can make toast by buttering a slice of bread, or sprinkling cheese on it, then letting the sun do the rest. Cooking a hot dog or making nachos with chips and cheese are also fun treats to make in your solar oven! It would also work great to heat up leftovers. So the paper at the bottom doesn’t get dirty, put what you would like to cook on a clear plastic or glass plate. A pie plate would work well.
  8. To take food out of the oven, open up the lid of the pizza box, and using oven mitts or potholders, lift the glass dish out of the oven.

What’s happening?

The heat from the sun is trapped inside of your pizza box solar oven, and it starts getting very hot. Ovens like this one are called collector boxes, because they collect the sunlight inside. As it sits out in the sun, your oven eventually heats up enough to melt cheese, or cook a hot dog! How does it happen? Rays of light are coming to the earth at an angle. The foil reflects the ray, and bounces it directly into the opening of the box. Once it has gone through the plastic wrap, it heats up the air that is trapped inside. The black paper absorbs the heat at the bottom of the oven, and the newspaper make sure that the heat stays where it is, instead of escaping out the sides of the oven.

Your solar oven will reach about 200° F on a sunny day, and will take longer to heat things than a conventional oven. Although this method will take longer, it is very easy to use, and it is safe to leave alone while the energy from the sun cooks your food. If you do not want to wait long to have a solar-cooked dish, try heating up something that has already been cooked, like leftovers, or a can of soup. Putting solid food in a glass dish and liquids in a heavy plastic zip lock bag works well. You can also pre-heat your oven by setting it in direct sun for up to an hour.

Other recipes you may want to try are making baked potatoes, rice with vegetables, chocolate fondue, s’mores, and roasted apples with cinnamon and sugar. Even on partly cloudy days there may be enough heat and light from the sun to slow cook a special dish. Here are a few tips for having success with your solar oven:

  • Stir liquids (if you’re cooking something like fondue, rice, or soup) every 10 minutes. You can rotate solid food every 10-15 minutes as well, so it cooks evenly.
  • Reposition your solar oven when needed, so that it faces direct sunlight. You should be checking periodically on your oven, to make sure it is in the sun.
  • Make sure that the foil-covered flap is reflecting light into the pizza box, through the plastic-covered window.

GF Homemade Playdough: Worthy of Play or DOH! ?

I have updates to this blog. I kept the play dough to see how long it stayed playable. I kept them in ziploc type sandwich bags in my studio. Well, after 2 weeks the purple rice flour recipe started to get slimy, then the dogs got it and that was the end of that. The cornstarch and baking soda batch, however did not start to go bad until last week. Before it went bad I used it for a mixed media paining. The texture was smooth and silky, however, I had to keep dipping my fingers in water to work with it because it tended to be on the dry side. I will post photos of the painting soon and you can be the judge of how well the clay looks. Enjoy!

Grandma's Fun Factory

What a fun day!  At the request of my daughter I found then made two gluten free playdough recipes that I found on the web to see which one, if any, are worth the bother.

Recipe 1: from the Celiac Disease Foundation

Ingredients

1/2 cup rice flour

1/2 cup cornstarch

1/2 cup salt

2 tsps cream of tarter

1 cup water

1 tsp. cooking oil

food coloring if desired

Image

Directions

Mix ingredients in medium sized saucepan.  Cook and stir on low heat until it forms a ball.  Cool completely before storing it in a seal-able plastic bag.

I made the mistake of doing this on a day when the arthritis in my hands was acting up.  It hurt to stir the dough in the pan.  If you have a similar issue either wait for a less painful day or have someone (an older grand?) stir it for you.

Image

Image

This is where my hands started hurting.  It gets…

View original post 330 more words

Permanent Sand Castles

Once again Doodles comes through with an amazing activity to do with your grands. I highly recommend you check out her blog and subscribe to it.

Doodles

20120625-140821.jpg

Today at Barrow Street Preschool, we made sandcastles out of sand-clay, which will harden over the next week, retaining their shape. I had two groups ages 3/4 and 2/3, and began the lesson by talking with them about sandcastles they had made in the past at the beach, and also the different parts that one could put on a sandcastle. Then I put them in front of tons of misc materials and let them go wild. The project worked great for both age groups–super tactile and messy. The younger kids did need a lot of extra help with the molds, but one adult per table of 5 seemed to be plenty.

*the sand recipe needs to be cooked before class

(click through for the full lesson plan)

View original post 300 more words

Layered Landscapes no. 4

What a fun activity to do with all ages! This is an activity I will have to try with some little friends.

Doodles

20120726-231235.jpgBy Stella, age 6

In today’s lesson, we used masking fluid and brown and black buckets of ink to create ‘found’ landscapes.

View original post 393 more words

June in Arizona means APPLES

June in the Sonoran Desert  means apple crisp, applesauce, apple leather, dried apples, frozen apples, apple bread, apple muffins, apple cookies….you get the idea.

Image  This is a picture of one of my apple trees.  We got a bumper crop this year from both trees!  With this wonderful crop there are a lot of activities that can be done with the grands involving apples.  This week I will blog about three.  Applesauce, apple leather and apple printing.

Apple sauce is a yummy, healthy, fun, easy food to make.  There are a few things that you will want the younger grands to sit out on.  If they are old enough and can handle a pairing knife they can help with all steps of making apple sauce.

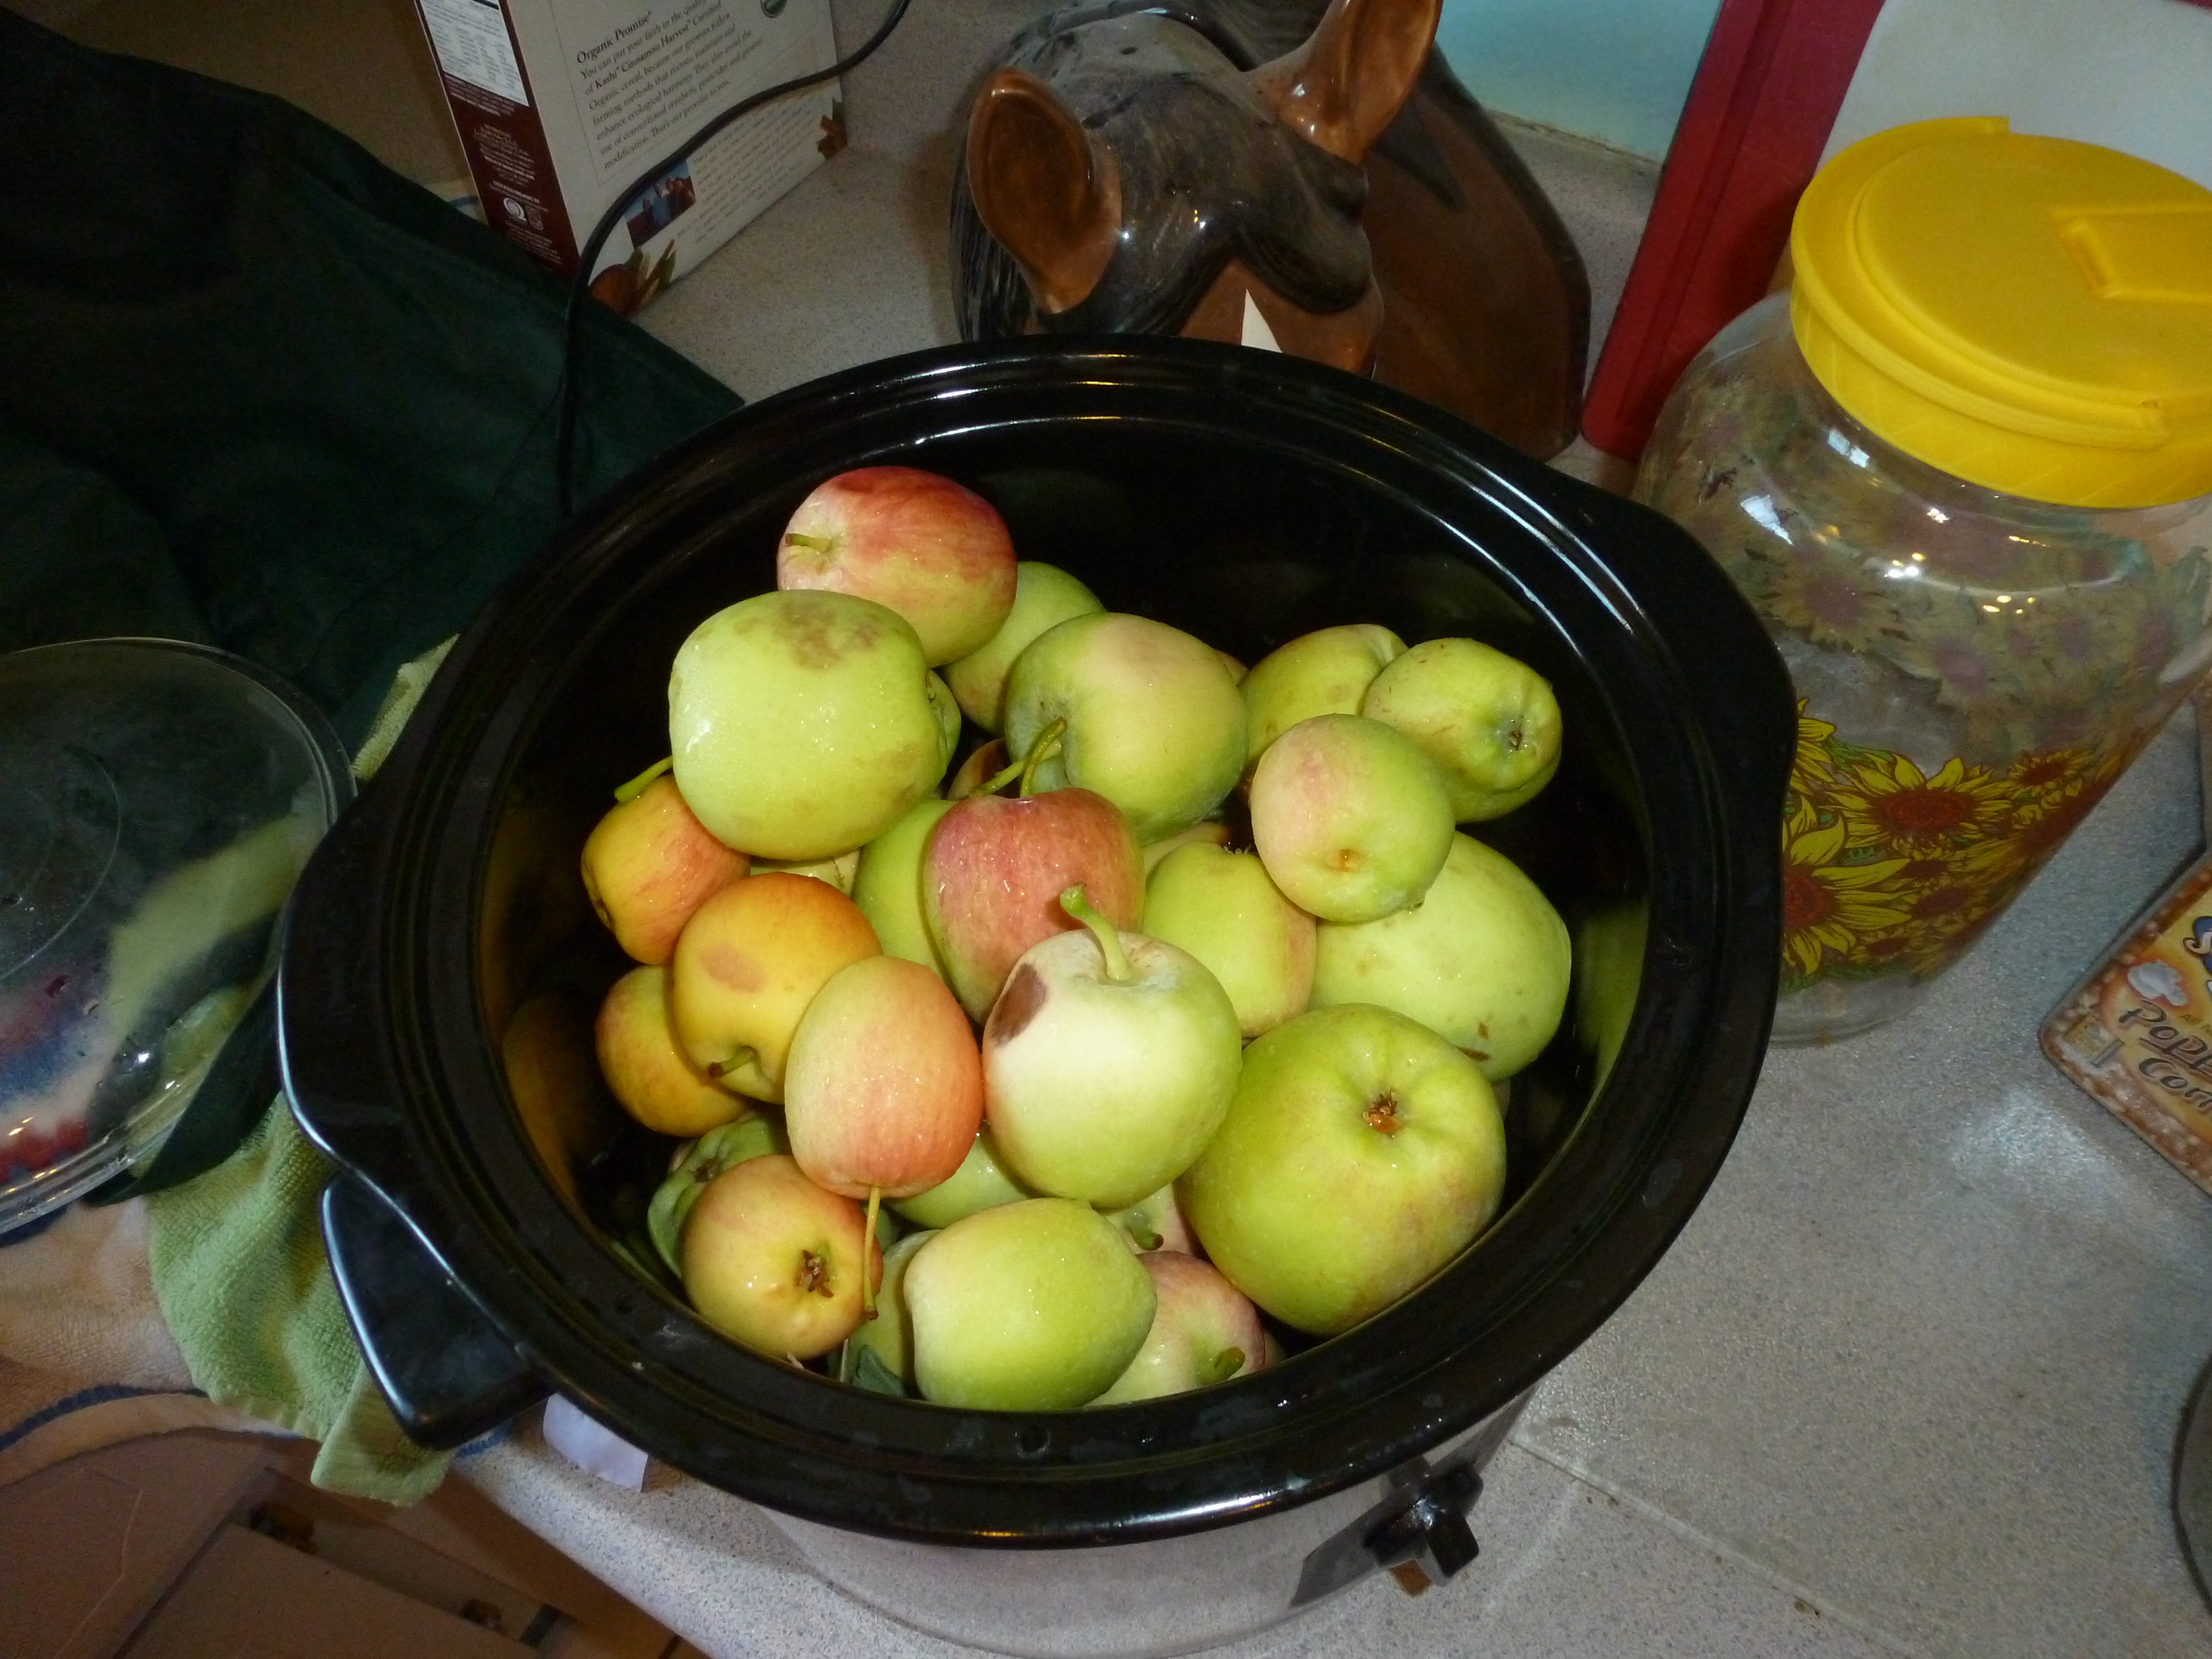
Step 1 – pick and wash the apples.  Don’t worry if they have a little bruise or two.  It adds flavor.  Wash carefully.  If the apples are not organic put them in a sink full of cold water and about 1/4 cup white vinegar for about ten minutes.

Step 2 – cook the apples. If you have a nice colander for making applesauce you don’t need to peel them.  If you are not using a colander peel and core the apples  I like putting them in the crock pot with about 2 cups of water on high.  It only takes a couple of hours.  You can do apple prints or carve apple head dolls while you wait.   If you cook them on the stove it takes about 1/2 an hour.

  Image

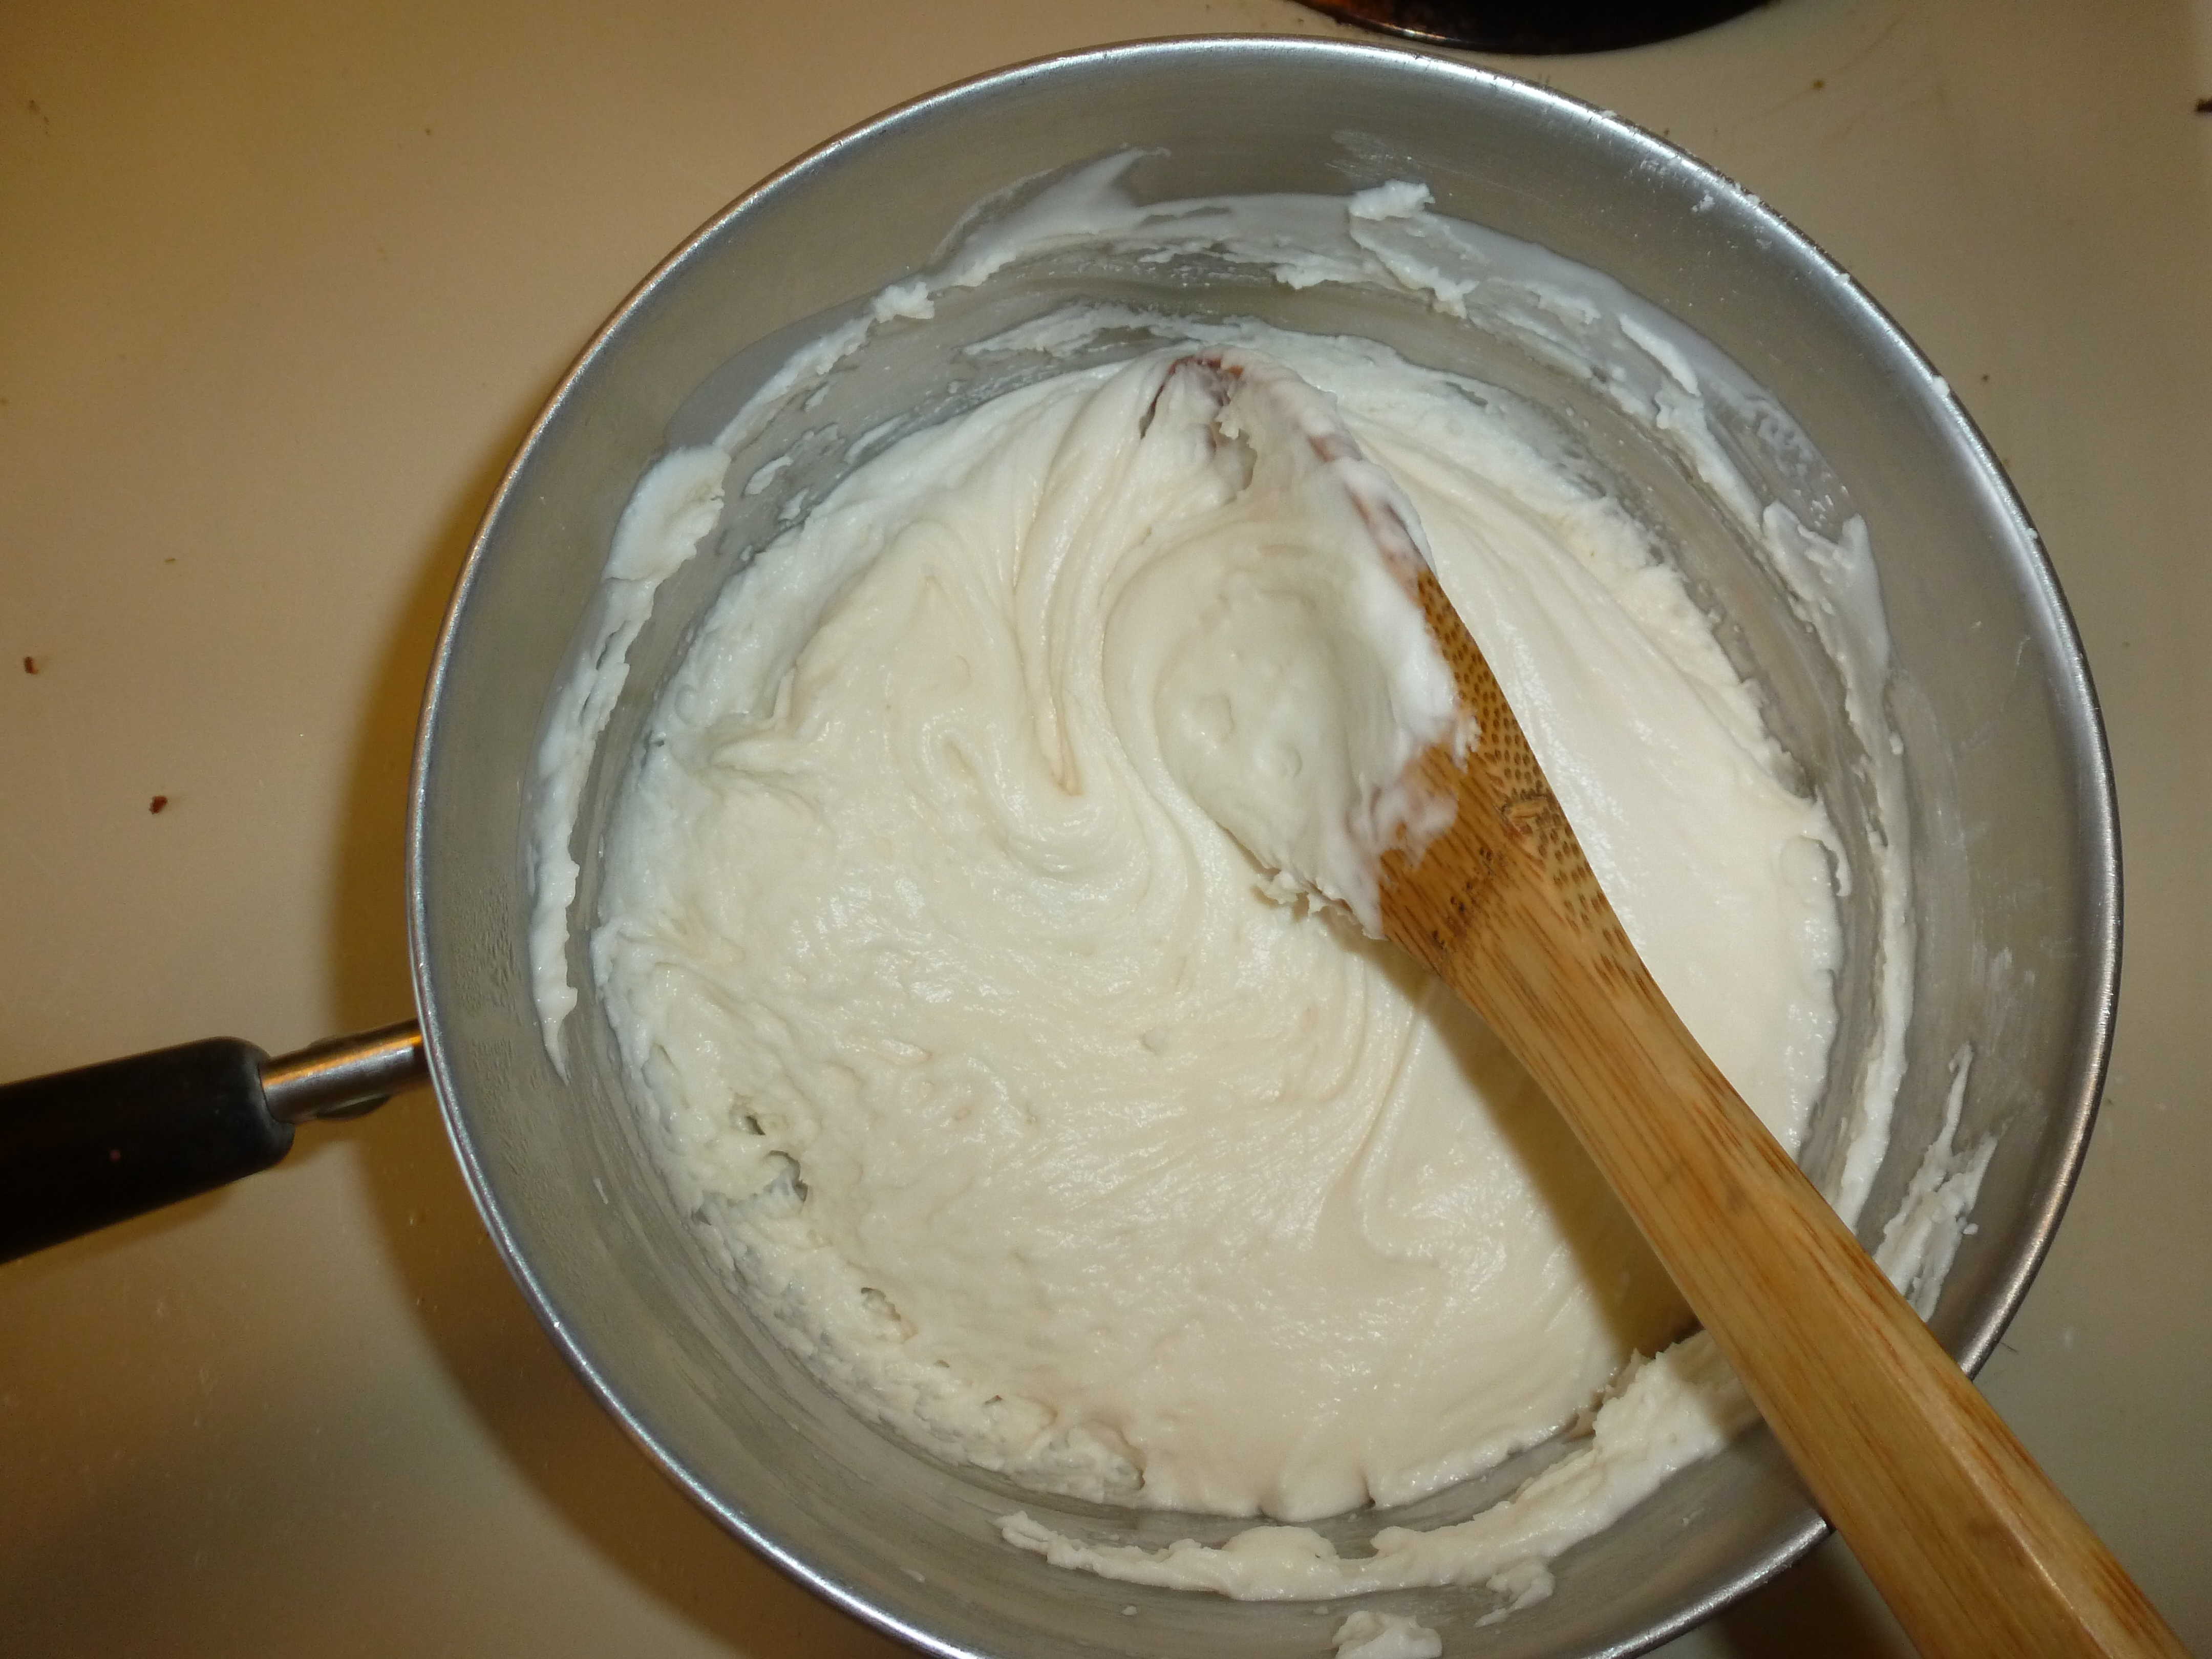
Step 3 – When the apples are done cooking they will be soft and slightly yellowish.  They will smell sweet.

Image

Put them in a colander or sieve.  If you have an applesauce colander, just use the wooden pestle to smush the cooked apples to get all the yummy juice and pulp out.

If you do not have an applesauce colander, put the apples in a regular colander over a bowl and use a wooden spoon to squish the applesauce out.  The kids LOVE to do this and watch all the sauce coming out the bottom.

4.  After all the applesauce is out of the peels just compost the peels or give them to the dogs.  You can add sugar and or cinnamon to the applesauce at this point.

One of my fondest memories as a kid is making applesauce and watching as my mom pulled the jars of fresh applesauce from the canning pot.  We took great pride putting them away knowing that we would have yummy applesauce to eat all winter whenever we wanted it.

What are some of your favorite apple memories?  Have you ever made apple head dolls?  Apple prints? Apple butter?

Watercolor Alphabet Cards

This is a great activity for learning the alphabet and developing fine motor skills.

GF Homemade Playdough: Worthy of Play or DOH! ?

What a fun day!  At the request of my daughter I found then made two gluten free playdough recipes that I found on the web to see which one, if any, are worth the bother.

Recipe 1: from the Celiac Disease Foundation

Ingredients

1/2 cup rice flour

1/2 cup cornstarch

1/2 cup salt

2 tsps cream of tarter

1 cup water

1 tsp. cooking oil

food coloring if desired

Image

Directions

Mix ingredients in medium sized saucepan.  Cook and stir on low heat until it forms a ball.  Cool completely before storing it in a seal-able plastic bag.

I made the mistake of doing this on a day when the arthritis in my hands was acting up.  It hurt to stir the dough in the pan.  If you have a similar issue either wait for a less painful day or have someone (an older grand?) stir it for you.

Image

Image

This is where my hands started hurting.  It gets very sticky.

This recipe required some tweaking on my part to make it playable.  After in cooked as much as it could before my hands gave out, the dough was still too sticky to use.  I kneaded the warm dough in some cornstarch I put out on the counter; the warmth felt good on my hands.

The final results.

Image

Recipe 2: I remember making this when I was a kid.  The recipe came from the cornstarch box.  I found this in my search for GF playdough recipes.

Ingredients

1 cup baking soda

1 cup water

1 cup cornstarch

Image

Directions

Mix ingredients in saucepan over low heat.  Stir until mixture become very thick.  Mix in liquid watercolor or food coloring if desired.  Remove from heat, knead until smooth.  Store in Ziploc bag in refrigerator for up to a month.

Image

Image

I let it cook just a little while longer from this point.

I did not need to add cornstarch when this was finished.  The texture was nice and it was not too sticky.

I made small roses from each kind of dough to see which one I liked better.  I needed to dip my fingers in water to work with the cornstarch (recipe 2) dough because it started to dry quickly.

Image

Recipe 1 has a grittier texture.  It feels and works more like conventional playdough.  Recipe 2 is smooth as silk.  You can do finer work with Recipe 2.  I’m not sure how important that is for young kids but older kids might prefer it.  I know the artist in me prefers Recipe 2 but the Grandma in me thinks Recipe 1 is better for younger children.

I had fun playing today.  I can’t wait to find some kids to use the playdough with.  Here’s a challange, make the playdough for yourself!  It’s a blast letting the creative, unassuming child out to play.  You will understand better the delight your grands and or children feel when they get their hands in this wonderful squishy stuff.

Have you played today?

Making Pottery from Clay Soil

How much fun is this? This activity takes patience, time and clay soil.

Growing Our Green Beans

Clay ArtMy four year-old has never met an art project he didn’t like.  Pottery in particular holds a particular mystique for him because of a pottery relic his dad made as a kid, sitting on a bookshelf in our sunroom.  I’ve heard that you can make pottery clay from clay soil, and since we certainly have enough clay soil to go around, decided to give it a try.

After I planted some mountain laurel in a new bed recently, I came out with some extra chunks of clay soil (I always amend the soil with peat moss and top soil when I’m Waterplanting into really rough areas, hence the excess).  Thinking about our possible clay project, I put the chunks into a 5 gallon bucket, covered it with water and let it sit several days.

Several days later I drained some of the water off leaving only a little bit of…

View original post 363 more words